

商品の詳細
アメリカで購入したヴィンテージのスリップです。
サイズはMぐらいです。
マリリンモンローのプリントがかわいいです。
透け感はありません。
目立つダメージなく状態は良いかと思います。
よろしくお願いいたします。
ベティペイジ
pinupgirl
fifichachnil
laperla
aubade
シャンタルトーマス
agentprovocateur
クリスソニック
古着
ランジェリー
ネグリジェ
ヴィンテージランジェリー
agentprovocateurilfelinomaisonclose
olgaオルガ
ヴィンテージ
vintage
ワンピース
ワンピ
テロテロ
LLYINo.010-030-751
ヴィンテージVintageアンティーク
motherマザーsisterCHARA
fumikauchidaフミカウチダ
sacaiサカイTOGAPULLAトーガプルラ
sodukスドーク
perverzeパーバーズ
akiranakaアキラナカ
editforluluエディットフォールル
epineヘイト
barrackroomバラックルーム
バースデスbirthdeath
siiilonシーロン
Lochieロキエ
60s70s80s90s
SantaMonica
YAECAヤエカ
ハウスオブロータス
nestRobeネストローブ
omashandeオーマスヘンデ
ネストローブnestrobe
minaperhonenミナペルホネン
マーガレットハウエル
DOUBLEMAISONドゥーブルメゾン
susuriススリ
suzukitakayukiスズキタカユキ
GASAガサ
エバゴス
nolumノルム
itoイト
アンティークレース
universaltissuユニヴァーサルティシュ
AngelicPretty
ベイビーザスターズシャインブライト
商品の説明

本店は ヴィンテージ ランジェリー マリリンモンロー ベティペイジ ...

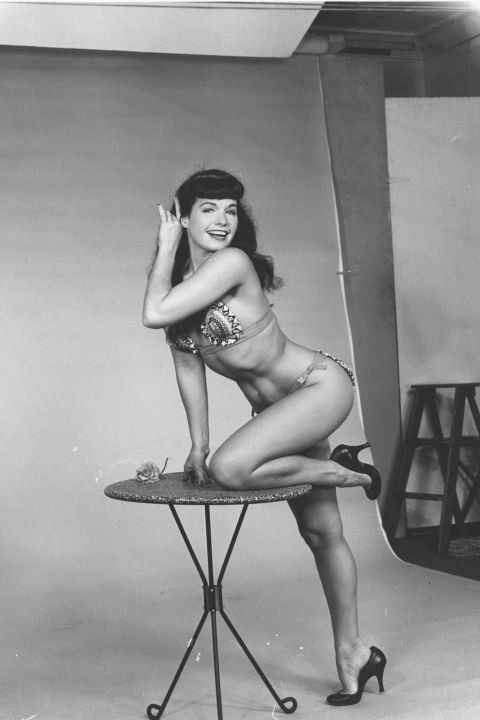
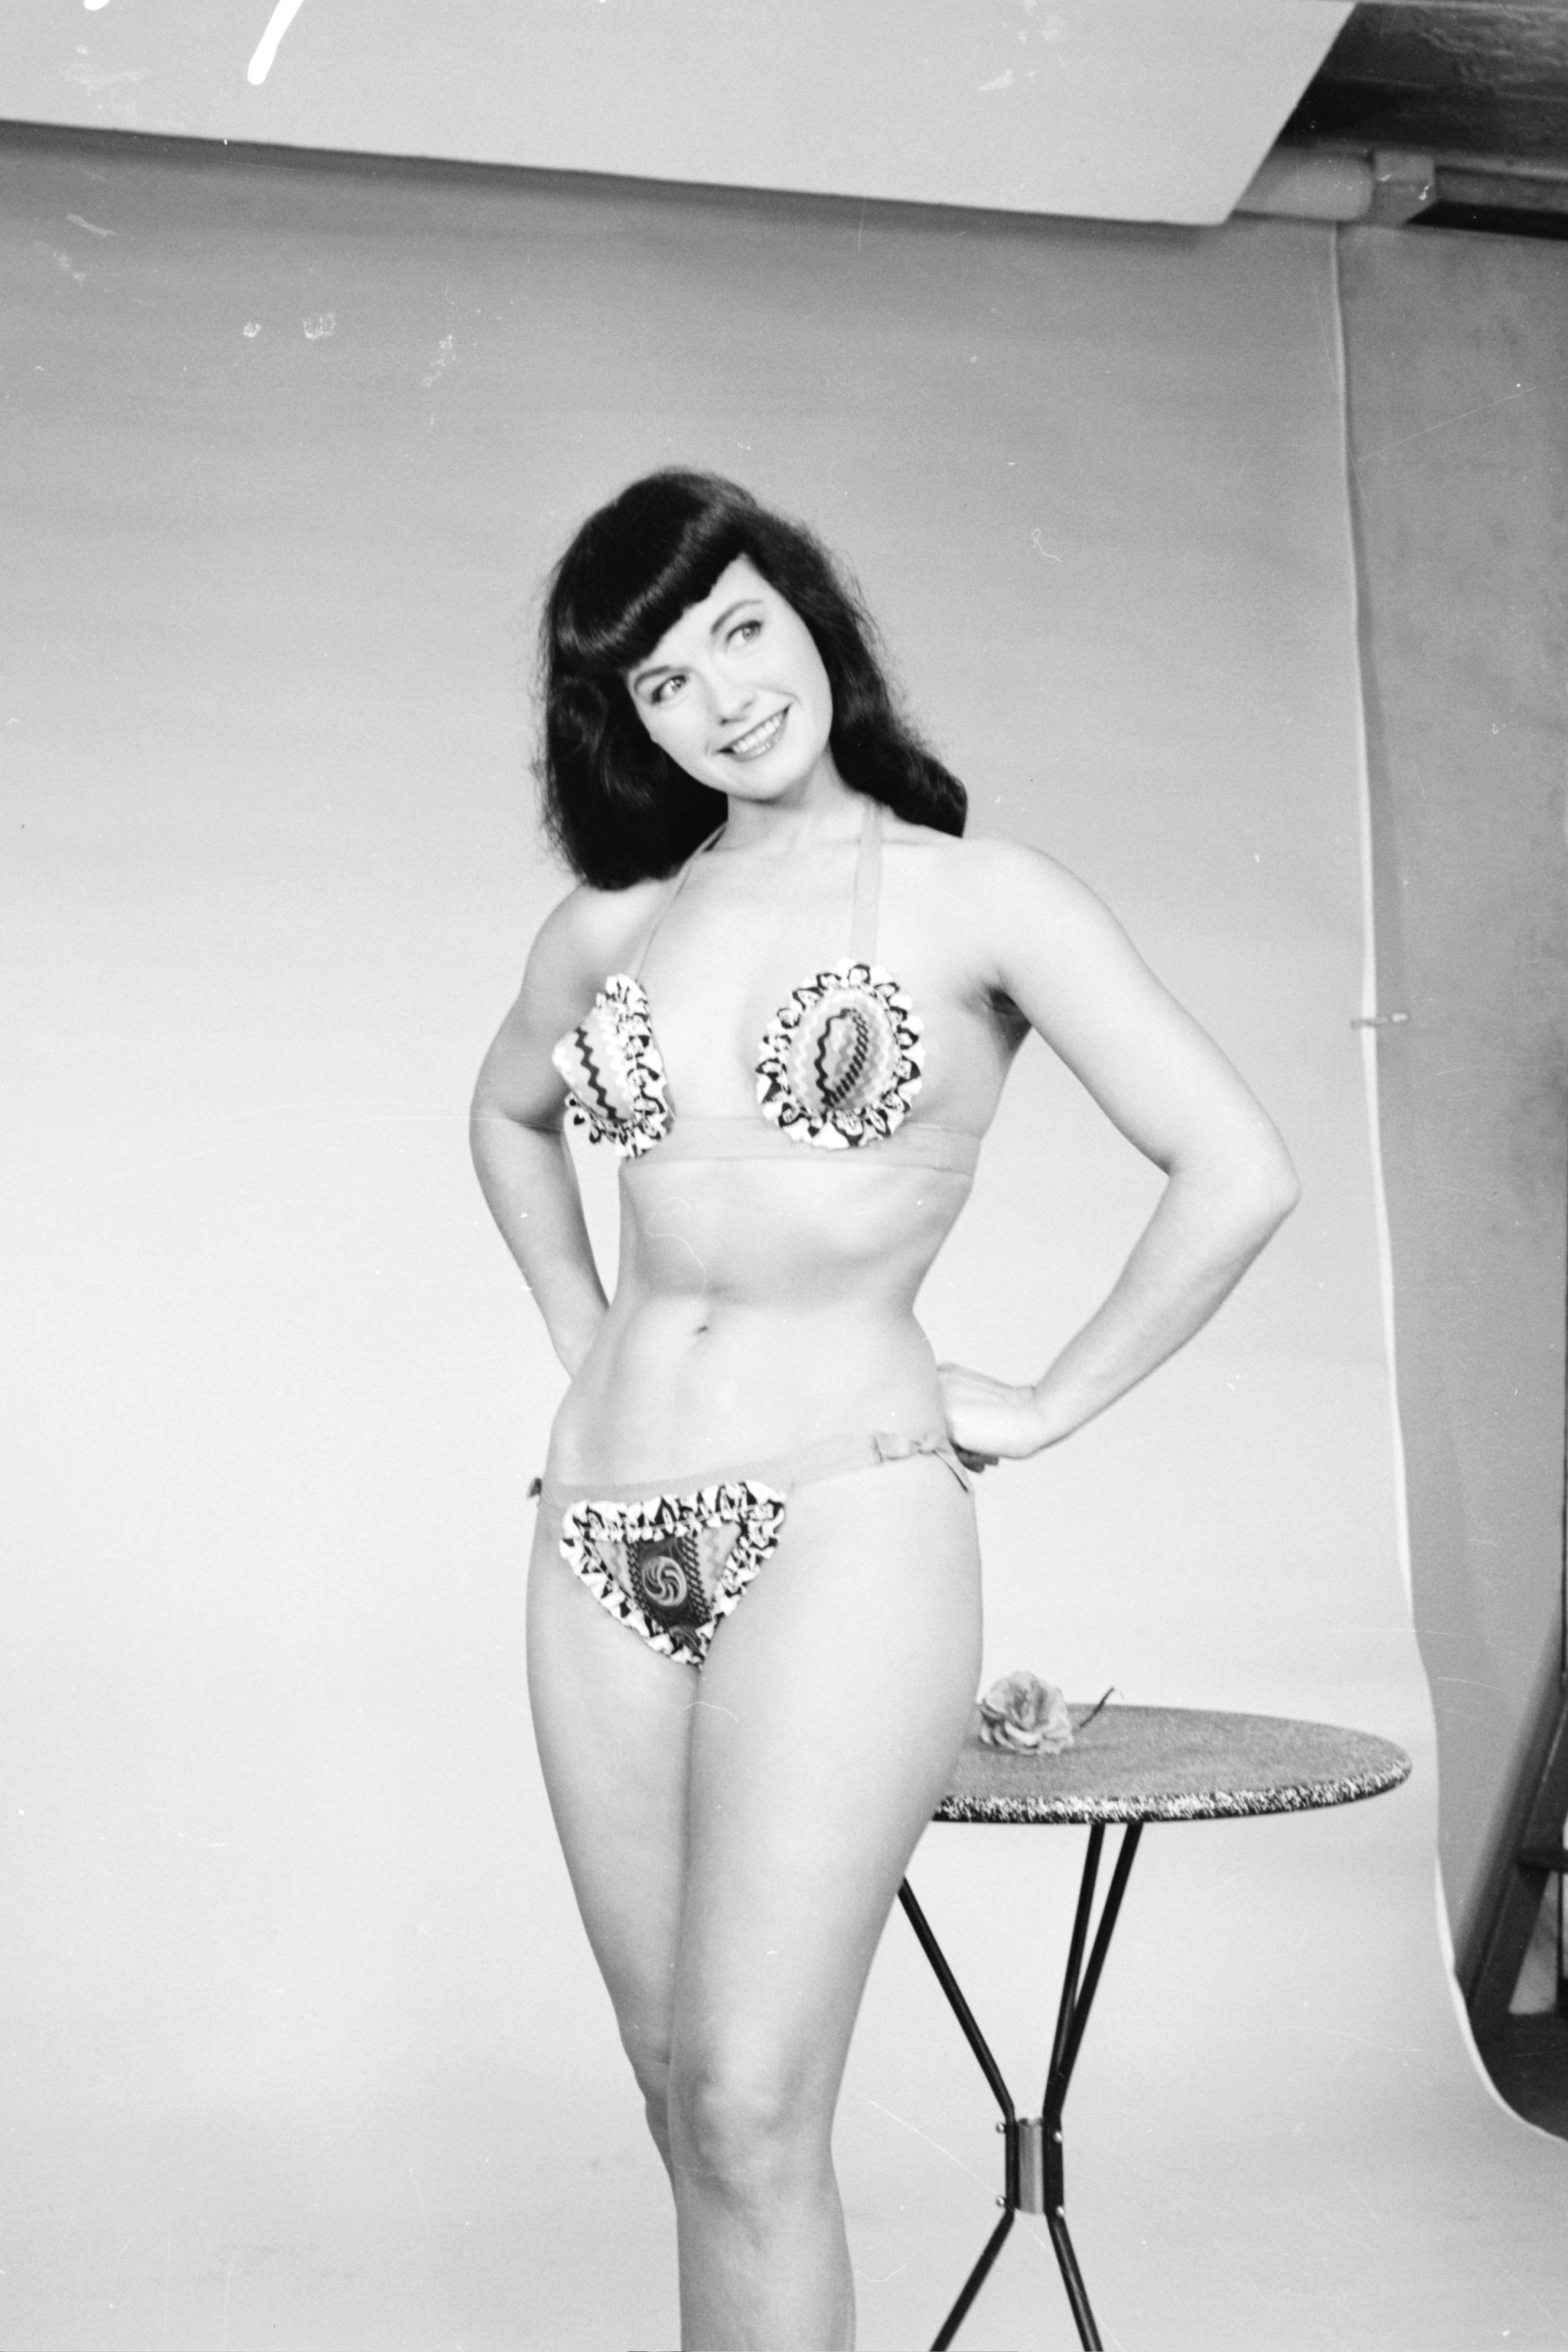
Bettie Page
ヴィンテージ ランジェリー マリリンモンロー ベティペイジ-

目立った傷や汚れなし】ダークホース ベティ・ペイジ スタチュー 完成 ...

目立った傷や汚れなし】ダークホース ベティ・ペイジ スタチュー 完成 ...
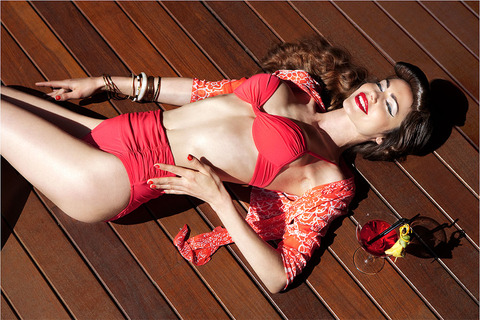
悩殺ポーズはお手のもの!グラマラスな歴代ビューティアイコン20

ヴィンテージ ランジェリー マリリンモンロー ベティペイジ-

幻想系古本屋 古書ドリス on X:

ベティ・ペイジ見てた。 | GOOD FELLOWSのブログ

モスキーノ マリリンモンロー ワンピース 限定 レディース | bca.edu.gr

ヴィンテージ ランジェリー マリリンモンロー ベティペイジ-

マリリン・モンロー MARILYN MONROE カード ブロマイド 売値 ...

ベティー・ペイジ 「ボンデージ界のマリリン・モンロー ...

今年の水着トレンドはレトロ&シック! 往年セレブのお手本 ...
今年の水着トレンドはレトロ&シック! 往年セレブのお手本 ...


